External Hard Drive Is Not Mounting on Mac? Here’s What to Do
If your external hard drive doesn’t mount on your Mac, it won’t show up in Finder, and you won’t be able to open your files. But of course, that’s just basic logic—no need for us to explain that, right? It’s a common issue a lot of Mac users run into, but in most cases, the fix is simple. We’ve tested different solutions over the years and will show you exactly what to do to get your drive working again.
External Hard Drive Not Mounting on Mac? Here’s What Might’ve Happened and How to Fix It
When your external hard drive not mounting on a Mac, there are two main scenarios here: a software problem or a hardware problem. Here’s a quick guide to help pinpoint the issue and the best solution to get your drive working again.
| Issue | Cause | What You Can Do |
| Drive not showing up in Finder (but appears in Disk Utility) | macOS settings are hiding external drives or the drive itself is corrupted. | Go to Finder Preferences and enable external disks to show on the desktop and Finder; run First Aid to fix the file system errors on the drive. |
| The drive appears in Disk Utility but won’t mount | There could be logical errors or file system corruption. | Use the Mount command in Disk Utility or Terminal; run First Aid to fix the errors. |
| Drive not visible in Disk Utility | Could be a faulty cable, port, or physical damage. | Try a different USB cable or port. If it still doesn’t show up, professional help may be needed. |
| Disk Utility shows incompatible file system | The drive is using a format macOS doesn’t support (like NTFS). | Reformat in Disk Utility or install a third-party NTFS driver for Mac. |
| macOS lagging when trying to mount an external drive | System resources are tied up when trying to mount the drive. | Restart your Mac and limit the number of apps open when the drive is connected. |
3 Basic Troubleshooting Steps for Hard Drive That Won’t Mount on Mac
When your hard drive won’t mount on your Mac, start with these simple steps before moving on to more complex fixes. We’ve seen situations where something as basic as a restart or even logging out and back in can solve the problem. There’s no need to jump to drastic measures right away when a quick fix can often get the job done.
If you’ve already done all this, feel free to skip this section.
Step 1: Check USB Connections and Cables
The first thing to look at is the connection. A loose or worn-out cable is often the culprit, and checking this can save you a lot of time.

- Unplug the external hard drive and plug it back in. Make sure the USB cable is fully inserted into both the Mac and the drive. Even if the connection looks fine, a slight misalignment can stop the drive from mounting.
- If reconnecting doesn’t work, the cable itself could be faulty. USB cables can wear out or get damaged over time. Try using a different cable that you know works with other devices to rule out a bad cable.
- Sometimes the USB port on your Mac is the problem. Plug the drive into a different port on your Mac. If your Mac has both USB-A and USB-C ports, try the other type with an adapter if needed.
- If the drive still doesn’t mount, try plugging it into another Mac or even a PC. If it mounts on another device, the issue is likely with your Mac, not the drive.
- Some external hard drives, especially larger ones, require external power to operate. If your drive has a power cable, make sure it’s plugged in securely. Without enough power, the drive won’t mount.
Step 2: Change Finder Settings to Show External Drives
Sometimes, your hard drive might be mounted but isn’t showing up in Finder or on your desktop due to macOS settings. Adjust these settings to quickly make your drive visible again:
- Click on Finder in the top-left corner of your screen and select Settings from the dropdown menu (older versions may show Preferences). This opens the window where you can adjust what appears in Finder and on the desktop.

- In the General tab, check the box next to External Disks. This makes sure that any connected external drives will show up on your desktop for easy access.

- Switch to the Sidebar tab. Scroll down to the Locations section and check the box next to External Disks. This will make your external drives appear in Finder’s sidebar.

Step 3: Restart Your Mac or Log Out and Back In
Every so often, your external hard drive won’t mount on your Mac because of a temporary glitch. Restarting your Mac or logging out and back in can resolve system issues that might prevent the drive from showing up. This is a simple but often overlooked solution.
How to restart your Mac:
- Click the Apple icon in the top-left corner.
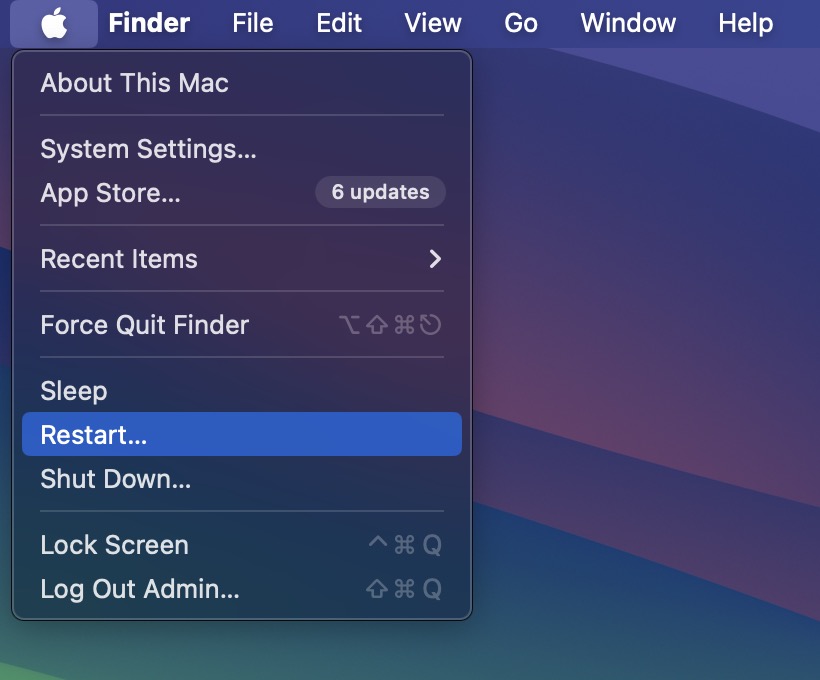
- Select Restart from the menu.
- After your Mac restarts, reconnect the external hard drive and check if it shows up.
If restart isn’t your first choice, logging out and back in can also refresh your Mac:
- Click the Apple icon and choose Log Out.
- Log back in with your credentials.
- Reconnect the hard drive and see if it mounts.
It Didn’t Work? It’s Time to Recover Data from an External Hard Drive That Won’t Mount
If your external hard drive still won’t mount after these steps, it’s smart to recover your data before going further. Some of the methods we’ll cover next could lead to data loss, so if you have important files on the drive, it’s better to be safe and recover them now.
We suggest creating a backup so that, if you fix the drive but lose data in the process, you can restore your files back to the external drive exactly where they were.
Step 1: Create a Backup of Your Hard Drive That’s Not Mounting on the Mac
If your hard drive won’t mount but is visible in Disk Utility, that this could signal logical problems with the disk. In this case, the safety of your data should be your top priority, and data recovery software is likely your best bet.
Our go-to solution for this is Disk Drill. It offers a powerful byte-to-byte backup feature, which allows you to back up data from drives that macOS can’t mount. It is different from regular backups. This feature is specifically designed to handle compromised storage devices. The byte-to-byte backup creates a complete virtual copy of your external drive so you can perform scans on this backup instead of your drive (scanning a compromised drive can sometimes cause additional damage.)
✅ Why Disk Drill Is our go-to tool?
- Works with various storage devices, including external hard drives and USB drives.
- Supports all common external drive formats like APFS, HFS+, FAT32, exFAT, and NTFS.
- Offers an intuitive and modern design.
- Backup features.
- The ability to preview files.
- Disk Drill operates in a read-only mode (it only reads data from the storage device without any changes to it), and in the case of the byte-to-byte backup, this is even safer.
- It works on both macOS and Windows.
- Regular updates.
- Additional features like S.M.A.R.T. monitoring, which tracks your drive’s health to prevent issues before they happen, Clean Up tool that helps free up space, and a Data Shredder that securely deletes files you no longer need.
Here’s how you can create a backup with Disk Drill:
- Download and install Disk Drill from the official website.
- Choose the option to create a Byte-to-byte backup.

- Select your external hard drive from the list of detected devices in Disk Drill.
- Click Create Backup, then choose a location where you want to save the backup. Make sure this location has enough free space—ideally more than the size of your external drive. For example, if your external drive is 500GB, you’ll need more than 500GB of free space on the destination drive or your Mac to store the backup.
- The backup process can take a while, depending on the size and condition of the drive. Allow Disk Drill to fully complete the backup without interruptions.

Be aware that to recover files from this backup, you’ll need the PRO version of Disk Drill.
Step 2: How to Recover Data from the Disk Image Back to Your External Drive
Now, scan the byte-to-byte backup you created. This will help you determine if it’s possible to restore the data. Once the scan is complete, review the results to see if there are any files you want to recover.
Here’s how to recover data from your disk image backup using Disk Drill:
- Launch Disk Drill and select Attach Disk Image… from the bottom of the main menu.

- Find the saved byte-to-byte backup and select it. Disk Drill will load the image as if it were the original hard drive.
- Once the disk image is loaded, click Search for Lost Data. Disk Drill will scan the image for all files, including deleted files.

- Disk Drill will categorize the files into groups like Existing files, Deleted or lost, and Reconstructed.
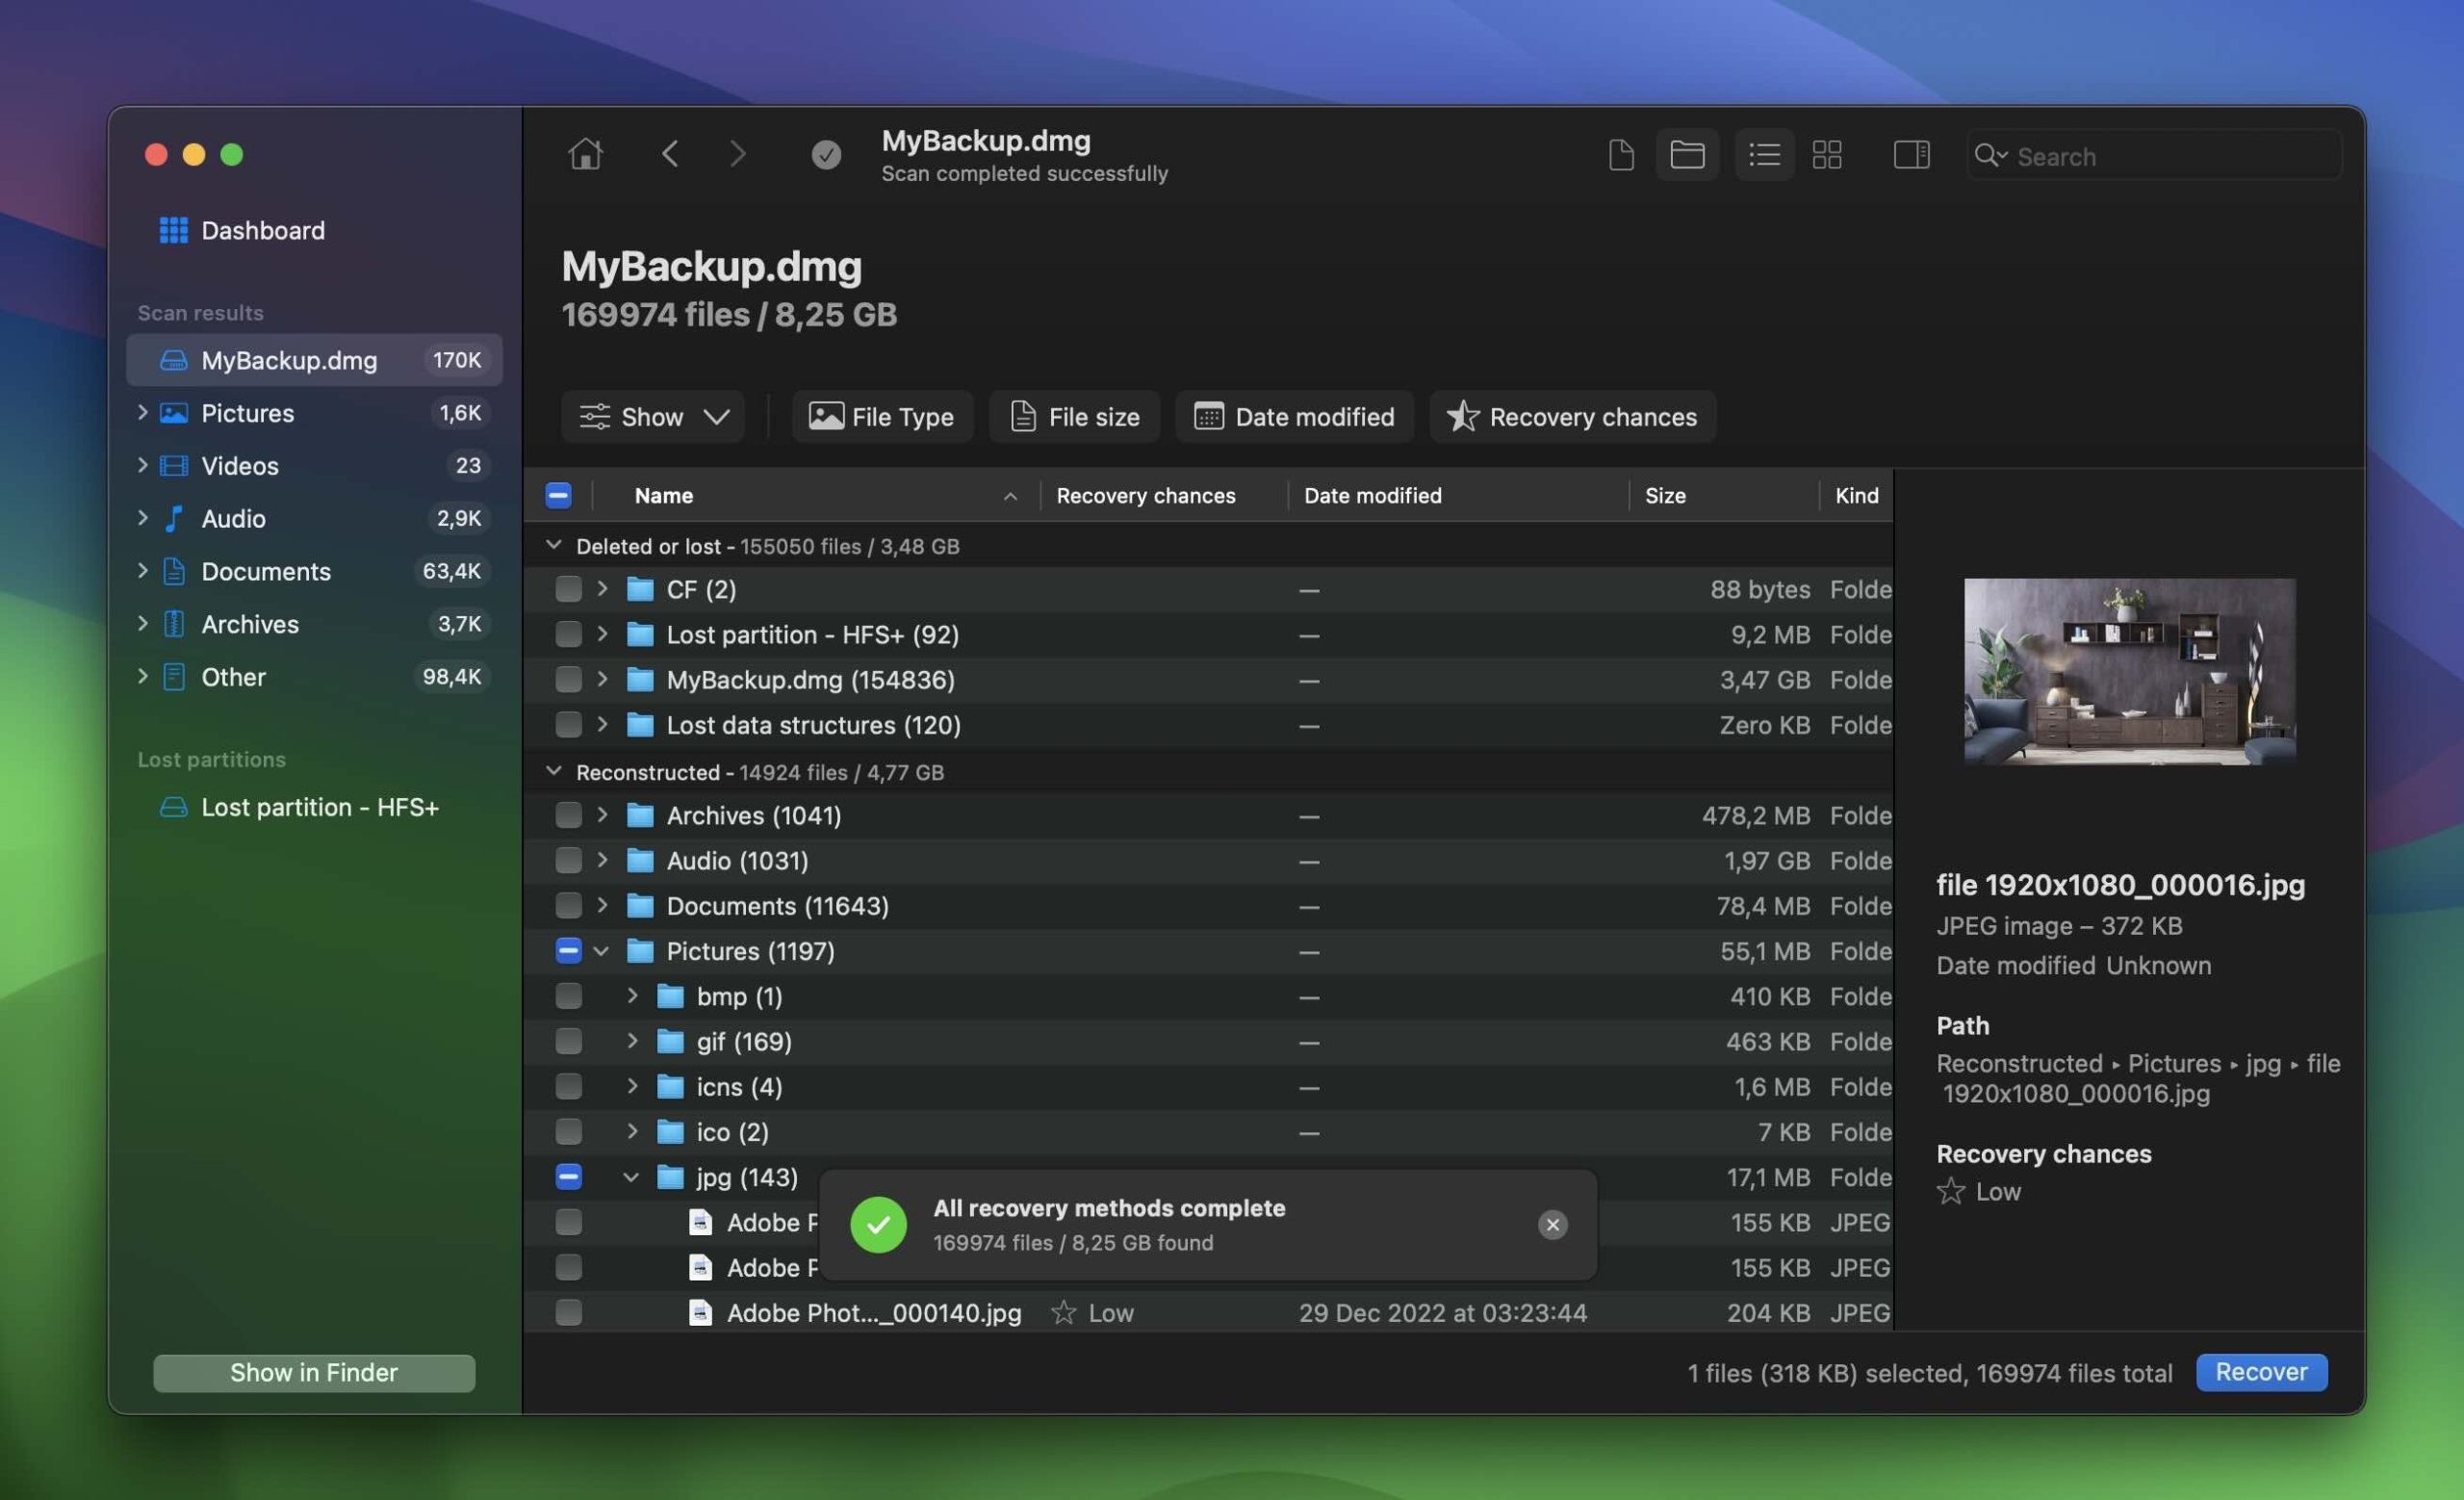
- You can click the eye icon next to each file to preview it.
- You can choose individual files, entire folders, or select everything.

- Once you’ve selected the files, click the Recover button at the bottom of the screen. Note that to recover files, you will need the PRO version of Disk Drill.
- A window will prompt you to select a destination for the recovered files. it’s advisable to save the recovered files to a different external drive or to an internal drive on your Mac, but make sure the drive has enough space to store all the recovered files.
Advanced Methods to Mount Your External Hard Drive
Now it’s time for more advanced solutions if your external drive is not mounting on macOS after basic troubleshooting steps. These methods can help you tackle deeper issues that might prevent your drive from mounting properly.
Method 1: Check Disk Utility for Errors
The first step in advanced troubleshooting is to check for file system errors using Disk Utility. This built-in tool can help identify and repair problems that may stop your drive from mounting.
- Press Command + Space and type “Disk Utility” to open the app. You can also find it in Applications > Utilities.
- In Disk Utility, look for your external drive listed on the left side.
- If the drive is visible but not mounted, look for the Mount button at the top of the Disk Utility window.

- Click Mount to try to manually mount the drive. If successful, your drive should appear in Finder.
- If the drive fails to mount, click on the First Aid button located at the top of the window.

- A pop-up will appear asking you to confirm that you want to run First Aid. Click Run to start the process.
- Disk Utility will check the disk for errors and attempt to repair them. This may take some time.
- After the check is complete, Disk Utility will provide a report detailing any repairs made or issues found.
- After running First Aid, attempt to mount the external drive again. Select the drive and click the Mount button once more.
- If the drive mounts successfully, you can access your files through Finder.
Method 2: Use Terminal to Manually Mount the Drive
Alternatively, you can try to manually mount your external drive in Terminal. Sometimes, this method works when the drive fails to mount through the usual methods. The Terminal allows you to bypass potential issues that macOS may encounter when trying to automatically mount the drive.
- Press Command + Space and type “Terminal” to open the app. You can also find it in Applications > Utilities.
- In the Terminal window, type the following command and press Enter:
diskutil list
- This command displays a list of all connected drives, including internal and external drives. Take note of your external drive’s identifier, which usually looks like /dev/disk2 or similar.
- Once you’ve identified your external drive, use the following command to attempt to mount it:
diskutil mount /dev/disk2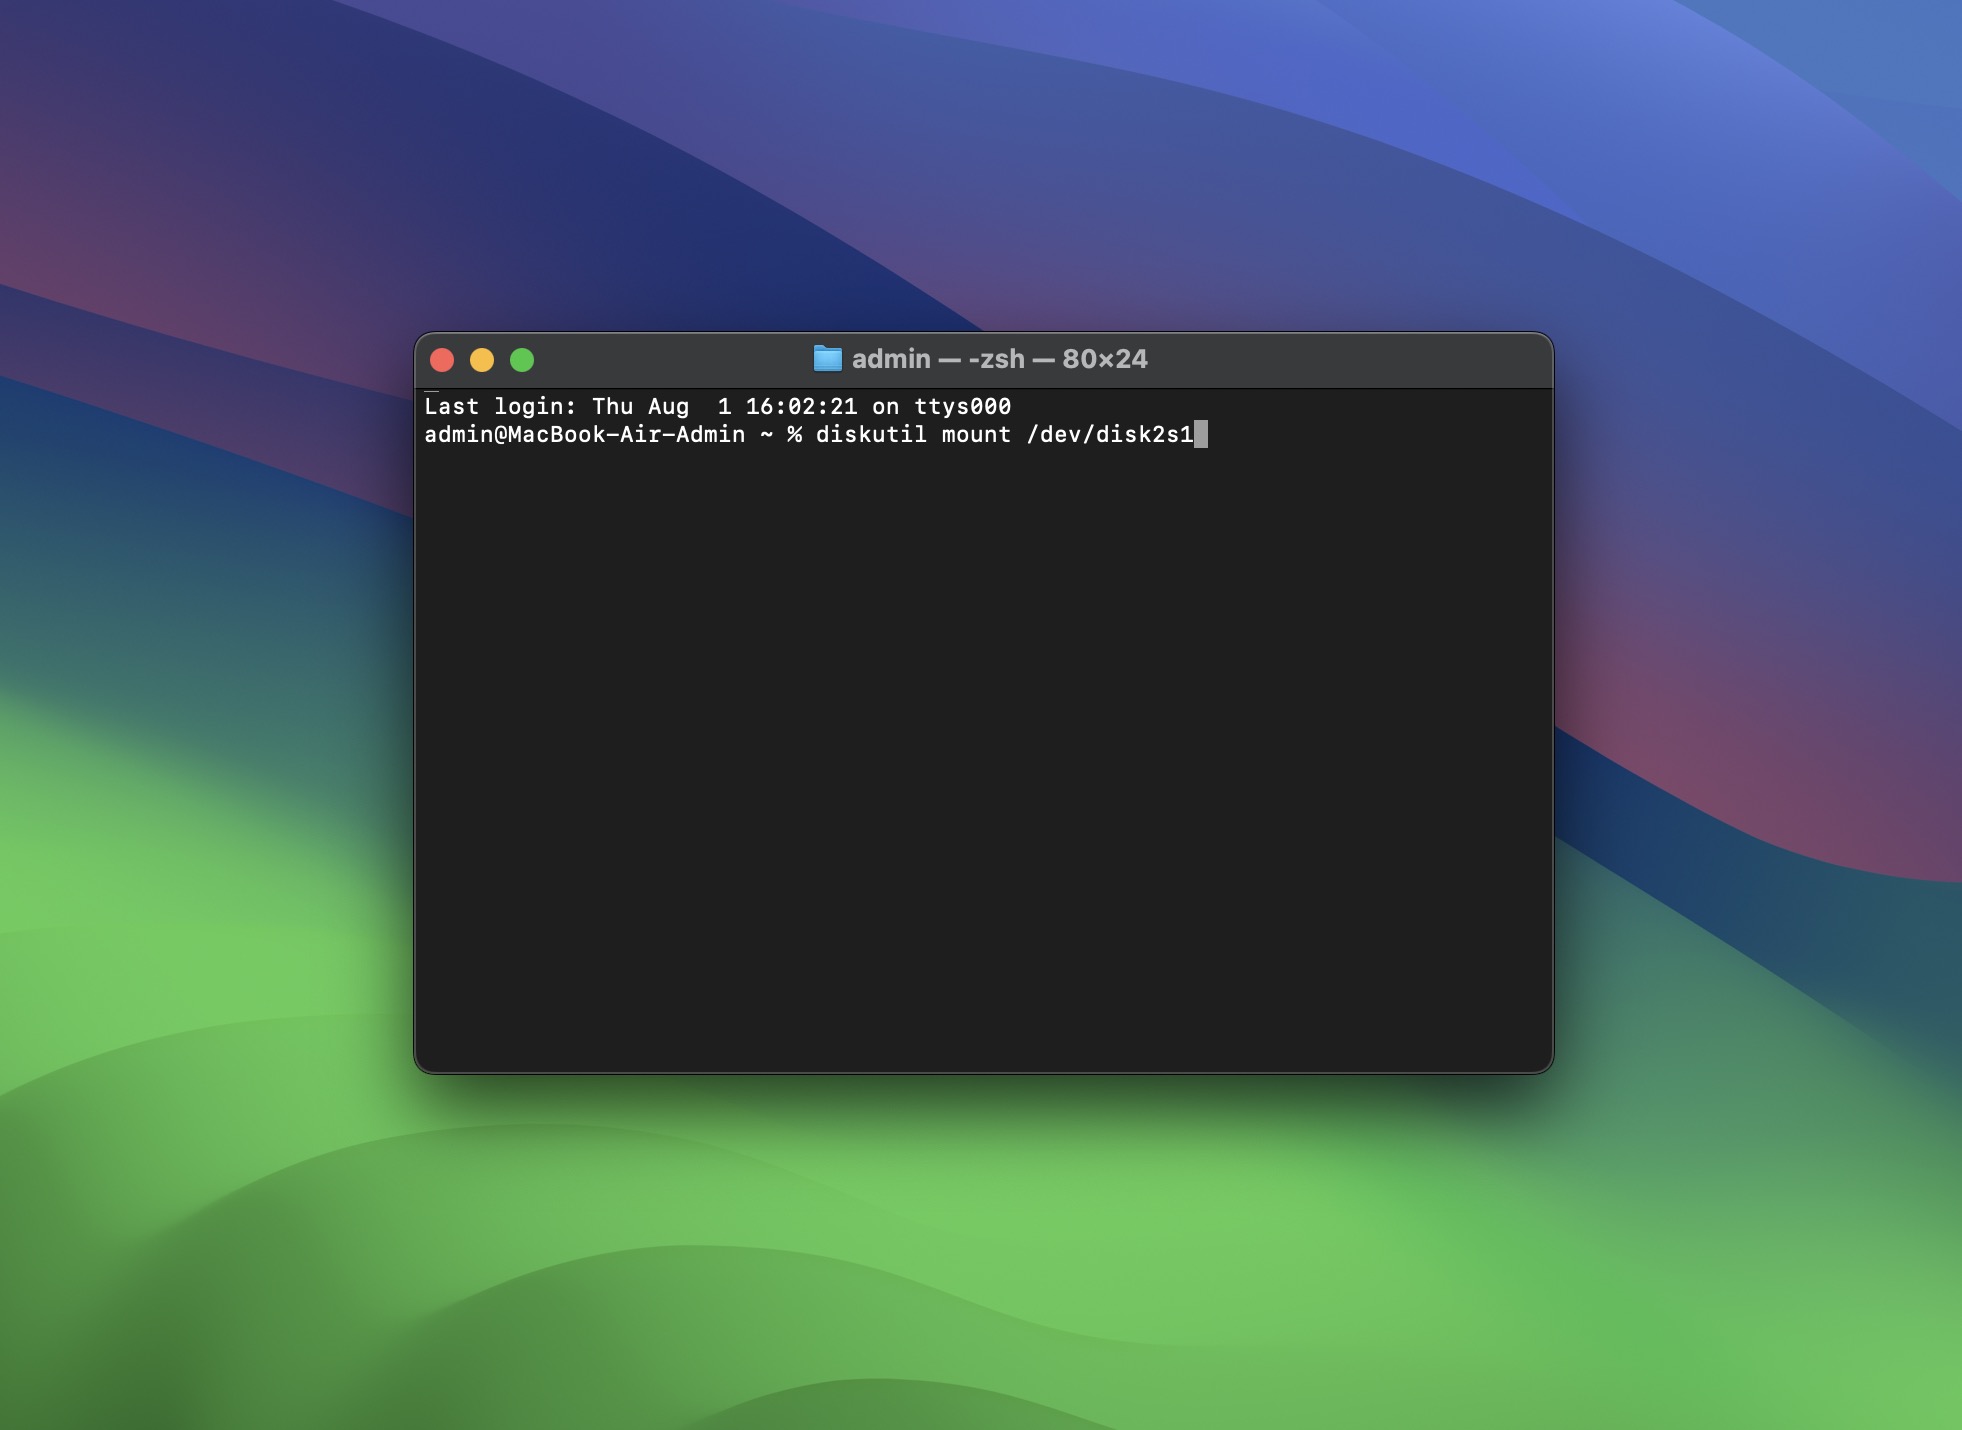
- Replace disk2s1 with the actual identifier of your drive. Press Enter to execute the command.
- If the command runs successfully, you should see a message indicating that the drive has been mounted. Check Finder to see if the drive now appears.
- If the drive doesn’t mount, Terminal may provide an error message with more details about the issue.
Method 3: Reset NVRAM/PRAM and SMC
Sometimes, your external drive may not mount on macOS due to issues with system settings. Resetting the NVRAM (Non-Volatile Random Access Memory) and the SMC (System Management Controller) can help resolve various hardware-related problems. These resets clear settings that might interfere with how your Mac interacts with external drives.
Reset NVRAM/PRAM
- Shut down your Mac completely.
- Turn it back on and immediately hold down the Option + Command + P + R keys.
- Keep holding these keys for about 20 seconds. You might hear your Mac restart during this time.
- Release the keys and check if your external drive mounts properly.
Reset SMC for Macs with Intel processors:
- Shut down your Mac.
- Unplug the power cord and wait for 15 seconds.
- Plug the power cord back in and wait for another 5 seconds before turning your Mac back on.
Reset SMC for MacBooks with a non-removable battery:
- Press and hold Shift + Control + Option on the left side of the built-in keyboard, then press the power button at the same time.
- Hold these keys for 10 seconds, then release them and turn your Mac back on.
After both resets, reconnect your external drive and see if it mounts automatically. If it does, you can access your files through Finder.
Method 4: Reformat the Drive
And finally, if everything else fails and your external drive is not mounting on macOS, reformatting the drive may be necessary. Keep in mind that this process will erase all data on the drive, but since we already covered how to make a backup of your drive, scan it for data, and recover it, your files should be safe, and you can proceed with formatting.
- In Disk Utility, look for your external drive. Click on it to select it.
- With your external drive selected, click the Erase button located at the top of the Disk Utility window.

- A pop-up will appear asking you to confirm. You’ll need to choose a name for the drive, as well as the desired file format. Options include APFS (recommended for solid-state drives), Mac OS Extended (Journaled) (good for traditional hard drives), and exFAT (compatible with both Mac and Windows). Select the file format and click Erase again to confirm.

- Disk Utility will begin formatting the drive. Once the process is complete, you should see a message indicating that the drive has been successfully erased and formatted.
Final Words
After formatting, check to see if your external drive mounts automatically. If it does, that’s great! But can you truly trust this drive? Are you comfortable transferring your files back to it? To help assess its reliability, you can check the drive’s health with S.M.A.R.T. Luckily, Disk Drill includes this feature.
Here’s how to check it: open Disk Drill and locate the S.M.A.R.T. Monitoring. Turn it on.

You can see the health level at the bottom of the interface. If it shows “Good,” your drive is safe to use, and you can confidently transfer everything back to it. However, if the health status indicates otherwise, we do not recommend storing anything important on this drive. Always prioritize the safety of your data!
FAQ
- Open Disk Utility (press Command + Space and type “Disk Utility”).
- Select your external hard drive from the list on the left.
- Click the Mount button at the top of the window.
If that doesn’t work, you can use Terminal as an alternative:
- Open Terminal (press Command + Space and type “Terminal”).
- Type the command diskutil list to see all connected drives.
- Find your external drive’s identifier (e.g., /dev/disk2).
- Type diskutil mount /dev/disk2 (replace disk2 with your identifier) and press Enter.
- Check if the USB cable is securely connected to both the drive and your Mac. Try a different USB port or cable to rule out connection issues.
- Some external hard drives require an external power source. Make sure your Seagate drive is plugged in and has enough power.
- Open Disk Utility to see if the drive appears. If it does, try to manually mount it or run First Aid to check for errors.
- Verify that your Seagate drive is compatible with macOS. Drives formatted in NTFS may require additional software to work properly on a Mac.
- If the drive is badly corrupted, it may not mount. In this case, you may need to use data recovery software or professional services to retrieve your data.